Devlog 2 - Cloaks and Capes!
Cloaks.
The pinnacle of character design (depending on who you talk to). The perfect solution to hide away characters features that you don’t feel like thinking about, while giving a character the perfect amount of mystique and interest to grip an audience (or just make a very cute character). The perfect time save for 2d projects, and hell for anything 3d.
Hi! I’m Bryson, or Tuscuu. A 2d and 3d generalist working. I am in charge of designing, modeling, rigging, and animating the characters and enemies that are and will be in the game.
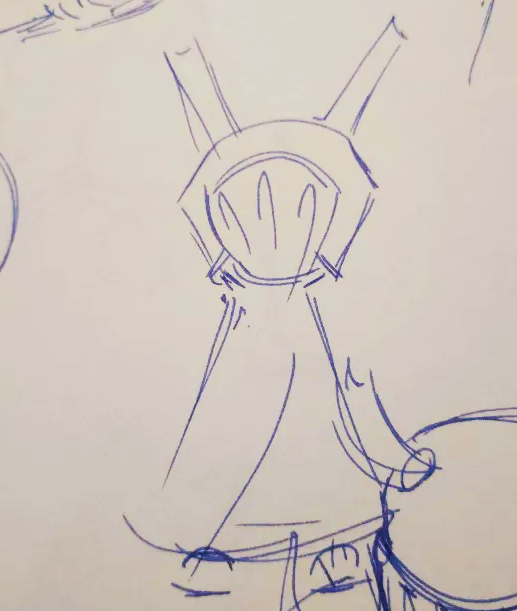
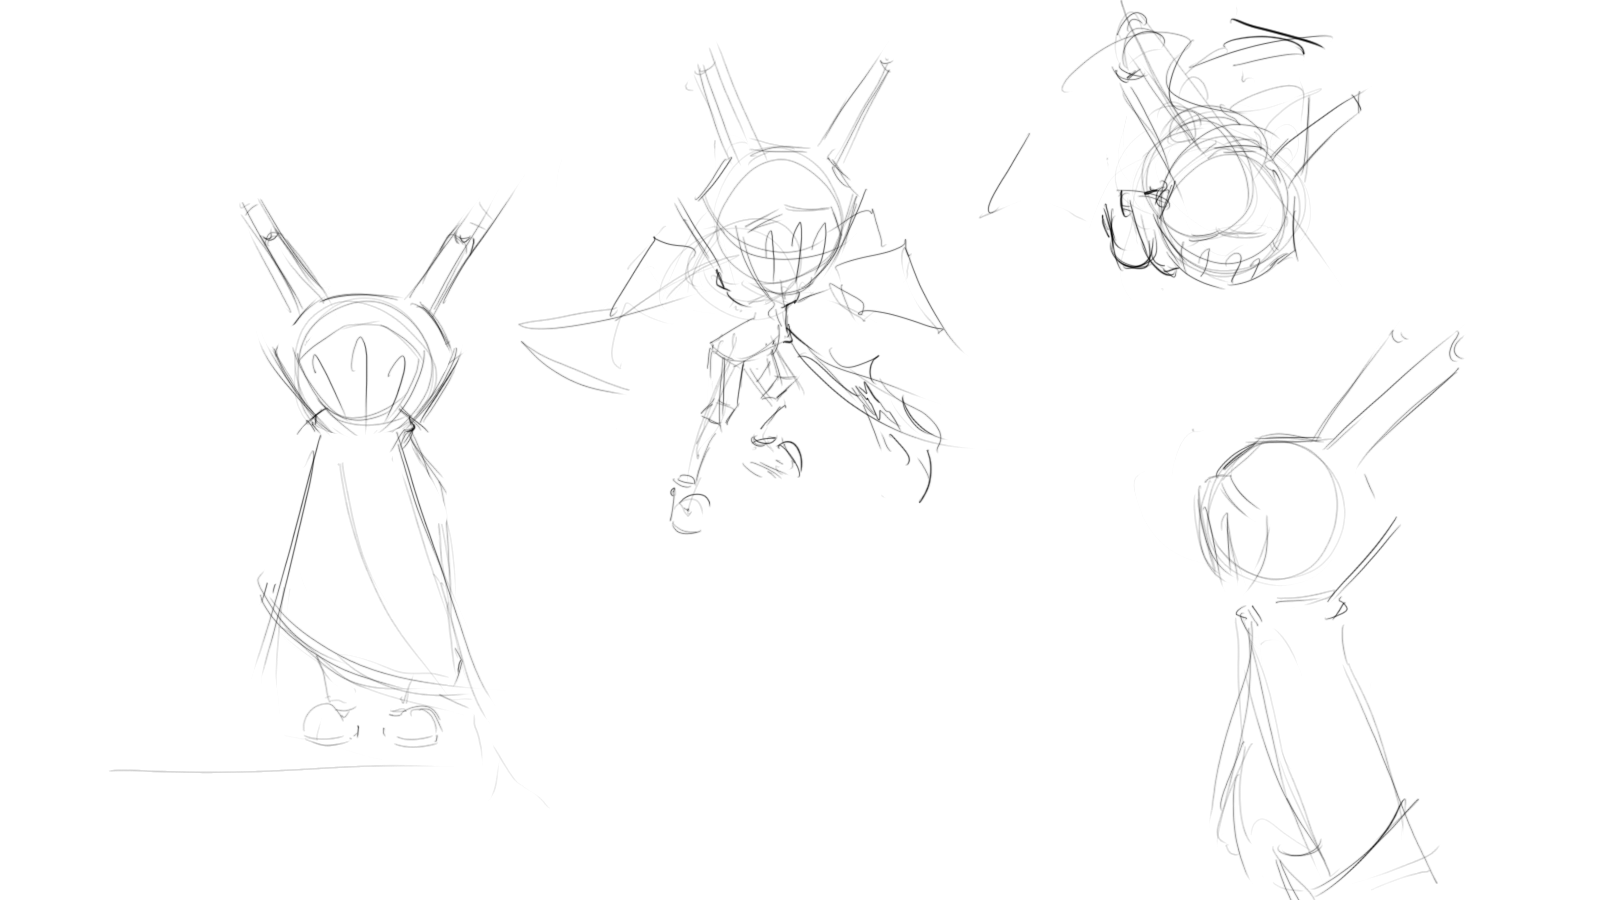
When I was working on designing the main character, we did not have a really solid idea of the art style or really what functions the character design needed to accomplish. This led to a couple of silly ideas, including a little doodle of a helmet and a cape tacked on. Of course the little doodle was the favorite of the group so he was chosen.
In 2d, it is very simple to add a cloak to a character, it can actually save you time by hiding annoying to draw parts of the character, in 3d this is NOT the case. In 3d, you are literally adding another separate element to model, rig and animate.
Research
The approaches for animating capes involves in engine simulation, exported simulation, or hand animation. In engine simulation involves moving the bones of a model with physics calculations. For the user, all that needs to be done is attaching the simulated model to something and adjusting the cloth settings until you get a result you like. This approach would have been great (though I am unsure of how it would work for a full body cloak like our character has), but our game uses stepped animations (similar to a claymation) as opposed to interpolated movement. Using in engine simulation would make the cape stand out too much from everything else in the environment. The next solution I looked into was simulating the cape in my animation/modeling software, Maya. After a bit of investigating, I figured that this was also impractical because exporting a simulated animation out of any program into a game engine is not as easy as just exporting the model regularly. Animations are easiest imported to game engines via joint based animation, and Maya’s simulations produce vertex based movements, so exporting the cape animations would require a lot of extra leg work. Pierrick Picaut showed an interesting solution to this where the cloth is simulated, then a separate game rig would be set to follow the simulated cloth. That approach could work, though it requires a good bit of setup and would be very difficult to manage considering that Blender techniques dont transfer 1 to 1 to Maya. Without having found a perfect solution, I continued working on other tasks and put the cape execution on the backburner.
Solution
While doing research on creating squash and stretch in 3d (another surprisingly arduous task,) I came across a video by antCGi talking about ribbons. With the ribbon technique, he could make his rigs bend, stretch, and deform in very free ways. The ribbon was even able to be set up to do a wave. It became painfully obvious that this was the perfect solution to help set up the cape and get all of the deformation I needed. After a brief bit of heartache trying and failing to make a tool to make this process easier for myself, I completed a test rig and a quick animation utilizing the stretch of the basic ribbon and other nice features. With a working prototype and positive words from those I showed it to, it was time to implement the full thing.
Approach
The ribbon technique involves creating an adjustable ribbon, assigning joints to match the ribbons orientation, and having a main joint chain follow the movements of the ribbon joints. The approach ends up being very similar to Picaut’s approach discussed earlier, but with the added “cape”ability to stretch. I knew I needed the additional ability for the cape to bend and straighten, so I added 2 ribbons to the sides of each cape piece giving me a left, middle, and right control. The additional controls also gave the freedom for the cape to squash and stretch horizontally, making it even more ideal for animations.
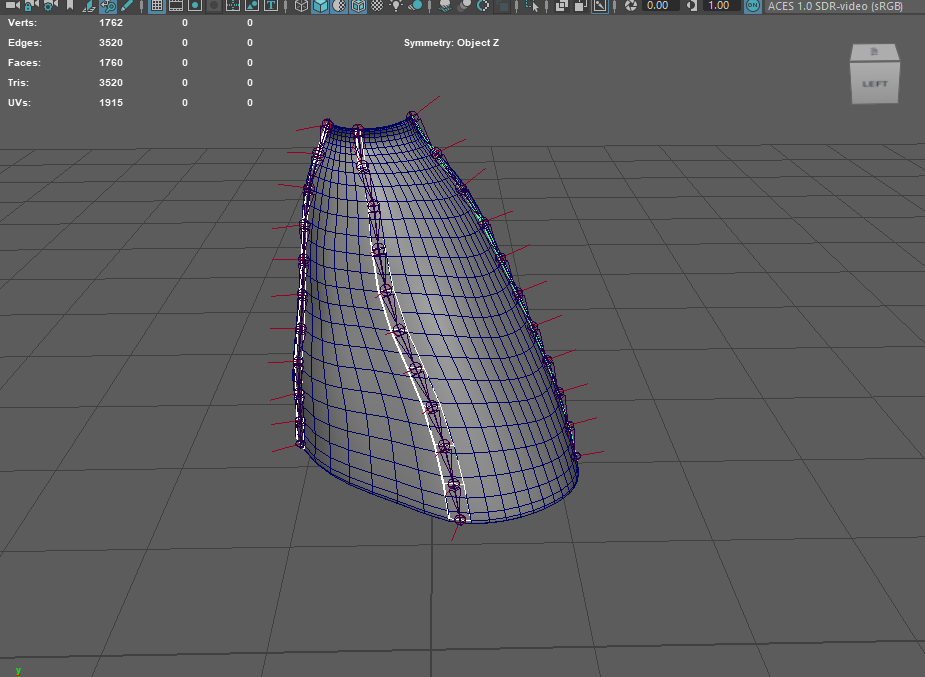
I also split the cloak into 3 sections. This was done to make the animation portion a little easier in terms of managing the flow of the cloak, and also meant I could be less precise in weight painting.
I knew I couldn’t use 30+ joints for each ribbon as it would be a nightmare to set up without a proper script. To save my sanity, I cut down on the amount of divisions in the ribbons so that there were manageable 10 ribbon joints instead. The process of creating the ribbon and setting up the functionality was tedious, but not unmanageable and was done in about a day. The following process however, was much more tedious.
Weight painting is a process where you tell vertices what joints they should affect. This process is tedious and annoying for most riggers. I had hoped that the automatic weights would get me close to what I wanted, then I could smooth out rough edges and errors left by the automatic weights. I was mistaken. The process turned out to be an arduous, tedious process that didn’t start coming together without 2 days of work on just 1, out of 3, pieces of the cloak. One of the main problems with the weight painting process was managing the model clipping through itself. The cloak has some thickness while being very thin, leading to very obvious clipping if the front weights are not exactly the same as the back weights. Maya does not have any built-in way to paint on the front and back of a model simultaneously, which means fixing this is much more tedious than it should be. I almost scrapped the cape until I found my saviour NGSkinTools. The add-on for Maya has a function that allows you to paint a model's volume and not just visible vertices. It also has a nifty smooth function that I figured I could use to smooth out other rough portions from my weight painting. The smooth function ended up giving me a ton of issues though, presumably because of how my joints were positioned and how many joints I had. Having to paint 90 individual joints (10 joints x 3 joint ribbons x 3 cloak pieces) was intimidating and took a while, but after nailing the process, I was able to paint a cloak in 3-5 hours.
After finally finishing the cloak weights, all that was needed was the wave and bend controls, created by attaching wave and bend non-linear deformers to the ribbons, and allowing the top control of each ribbon to adjust the deformer parameters. This lets all 3 ribbons on a cloak piece deform at the same rate, and gives easy access to the deformation parameters (this was also missing in the prototype cape rig).
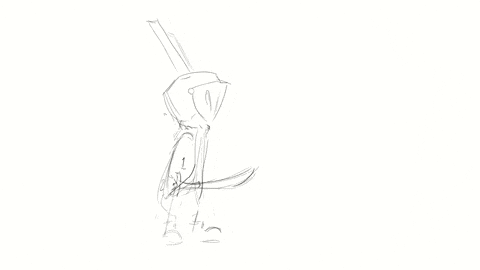
Finally, after a weeks worth of research, modeling, and rigging, the cape that took ~30 minutes to draw is finished.
You can try the demo rig here (not rigorously tested)! https://drive.google.com/file/d/15QQboh7LgiRy90TAnNgsQvILaV9lDoYe/view?usp=shari...
Leave a comment
Log in with itch.io to leave a comment.